Step-1
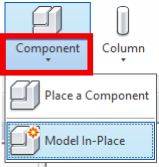
-Click on the component drop down from that select model in-place
Step-2

-From family categories and parameters choose different parameters.
-You can choose different parameters based on your model, for example, you can choose Furniture or Furniture system for woodworks.
Step-3
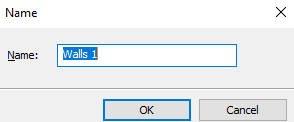
-Rename family categories that you have selected, so that you can identify easily.
Step-4
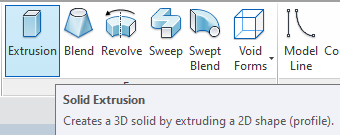
-Select the Extrusion Form to create a 3D solid by extruding a 2D shape. You can select more Forms as per your requirements.
-Void form is used to create the voids to the solid extrusions.
Step-5
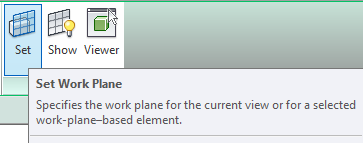
-set work plane so that you can sketch anything on the specified plane, In easy words, if you set a work plane then you can draw or sketch anything on that specified plane(surface).
Step-6

-Pick a work plane and click OK.
Step-7
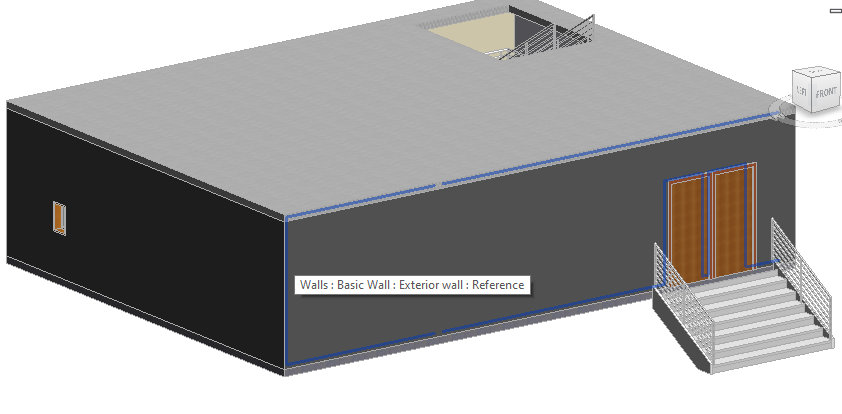
-I have chosen a wall surface as a work plane. Click on the wall to create a work plane.
Step-8
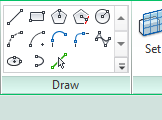
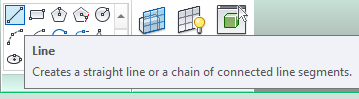
-Select shapes from the draw panel to create a 2D shape. I have selected a Line to create a shape.
Step-9
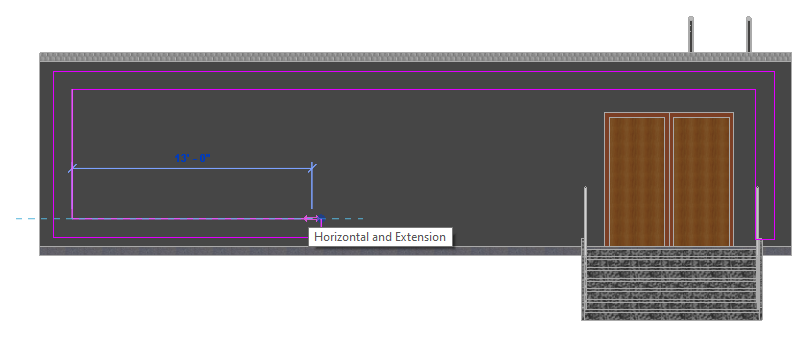
-Create a shape according to your requirements.
Step-10

-Click on Finish Edit Mode after completion of sketching.
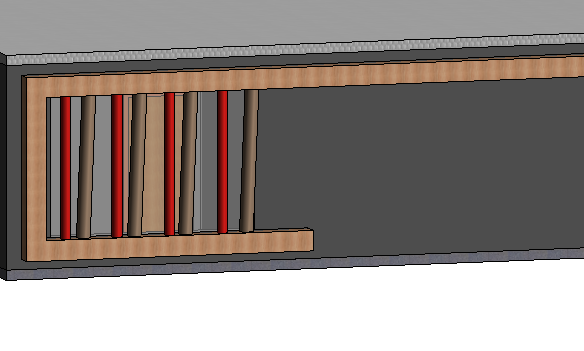
Step-11
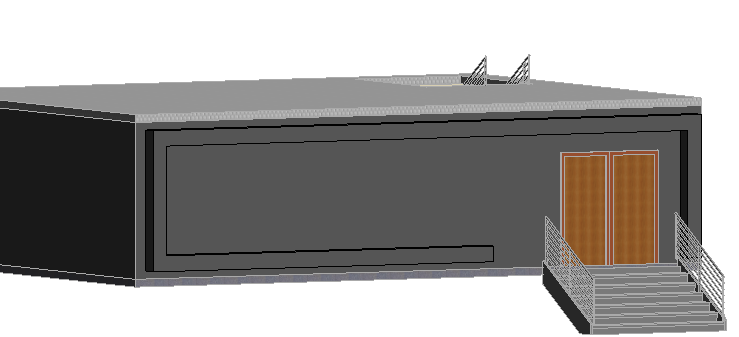
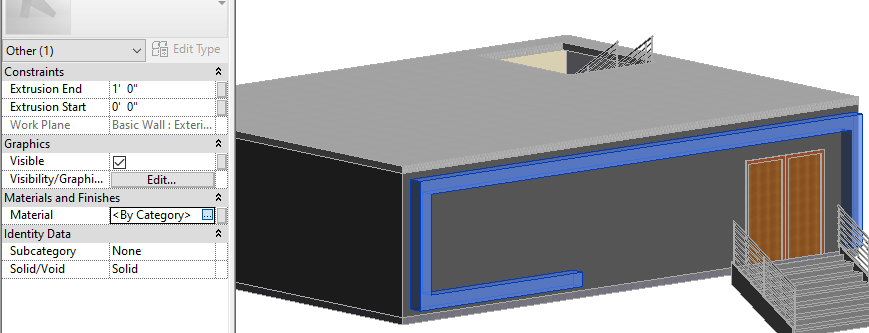
3D Extrusion looks as shown in fig.
Step-12
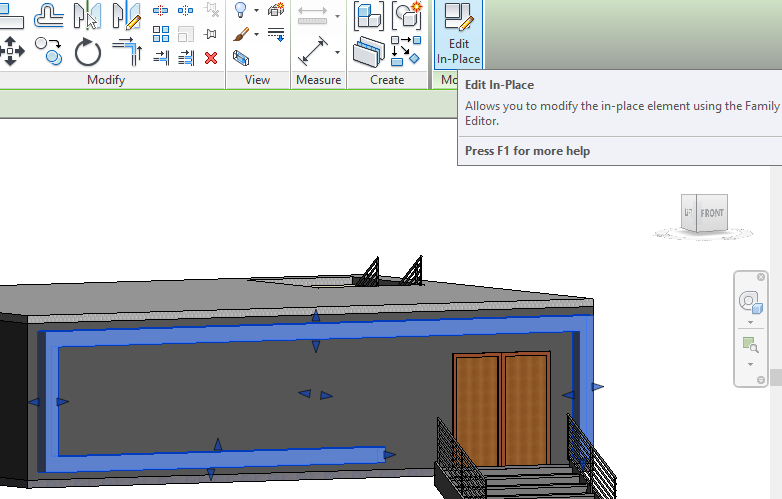
-If you want to change or modify, select extrusion and click on Edit in-place as shown.
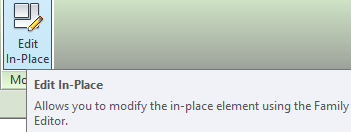
Step-13
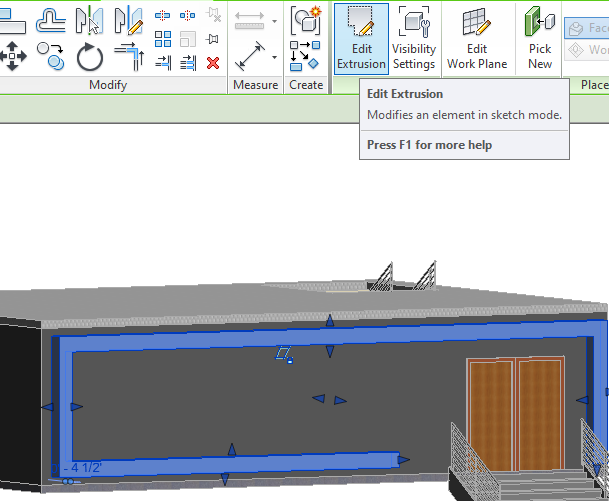
-Again click on Edit Extrusion to modify Sketch.
Step-14
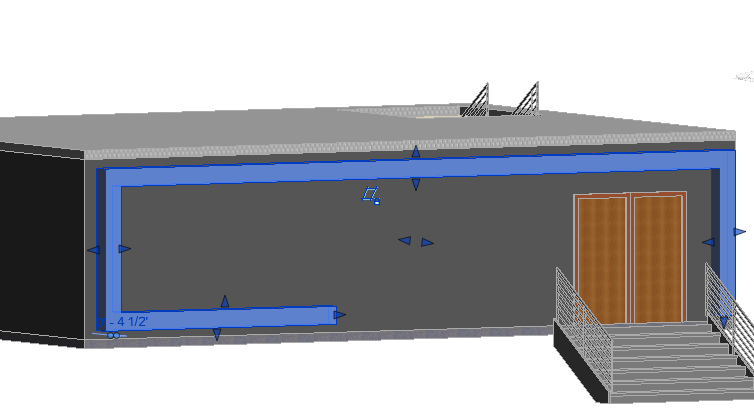
-You can see here we have reduced the length of the extrusion
Add Material to the Extrusion
Step-1
-To add the Material to the Extrusion, select an Extrusion that you created and click on By category in the properties panel as shown in fig.
Step-2
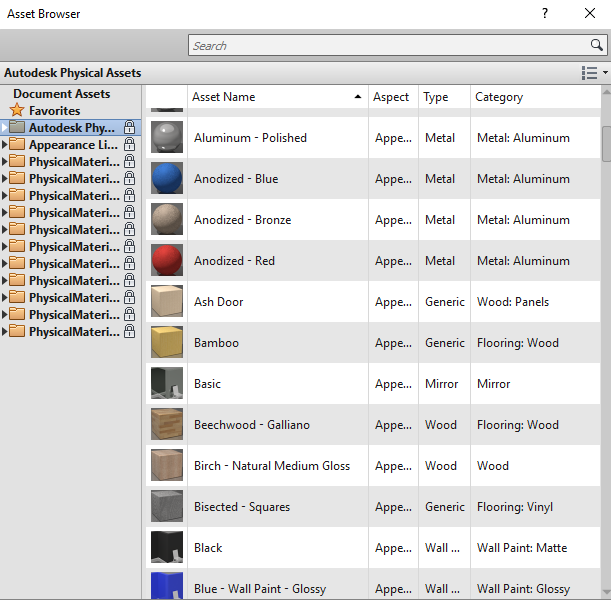
-choose materials from the Asset Browser and select according to your requirements.
Step-3

-Added material looks as shown in fig. If you can see then change the visible style.
Create more Forms
Step-1

-If you want to create more forms such as Extrusion. blend, void, etc., select an extrusion and click on Edit In-place after that click on ‘Create'(as shown) to create other forms.
Step-2
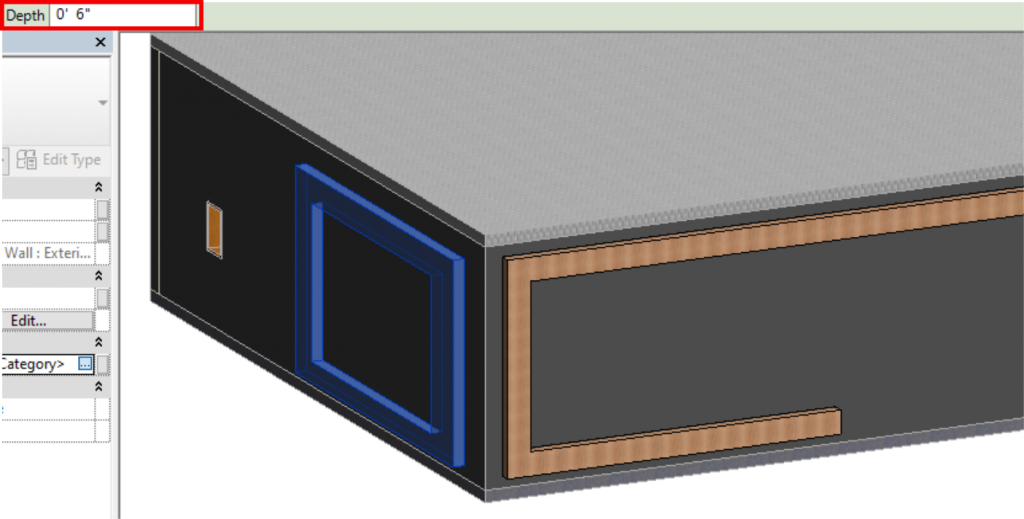
-You can see here we have created another extrusion on the other side. As well as you can set the depth of Extrusion as shown.
-Similarly, you can create more extrusions(in any shape) on the extrusion that you have created before.
-We have created a Void form to this Solid Extrusion. similarly, you can set the depth of the void as we have done before.