
Before starting a project you can either select a default project or standard project template from a project template library. In the default project, you can customize the settings and it can be saved as a template file(.rvt).
To start the project
Step-1
Step-2
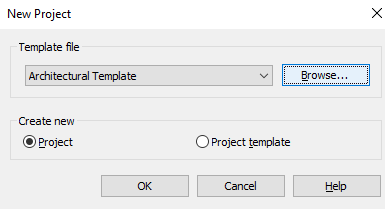
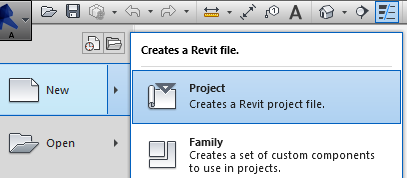
-Select new and click on the project to create a Revit project file. You can Browse any default project template from the template library or you can just start with an architectural template and then press OK to start the project.
To Start New Project using No template
Step-1
Step-2
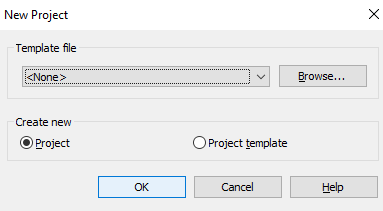
-Follow the Similar steps, open a new and click on the project and then select ‘None’ from the template file and then press OK to start.
Save project
Save your models, designs, etc.., either in ‘.rte’ or ‘.rvt’ format.
Step-1
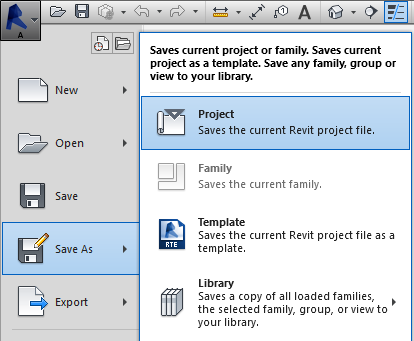
-To save projects just click on the application menu and then ‘save as’ and then project. This project will be saved as a “.rvt” file.
Step-2
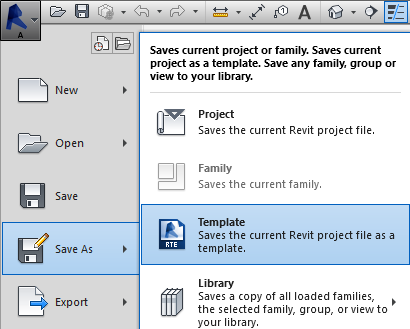
-If you want to save this as a project template then click on ‘save as’ and then template this will be saved as a “.rte” file
Snapping
-Snaps will ease your work. When you move the cursor to place an element or to draw something, snap assists you to draw or place at a particular distance with the dimension with reference to existing geometry and it shows you the starting point, midpoint, and endpoint.
Step-1
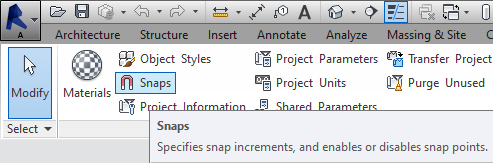
-Click on ‘Manage’ and then click ‘Snap’ to open the Snapping dialogue box.
Step-2
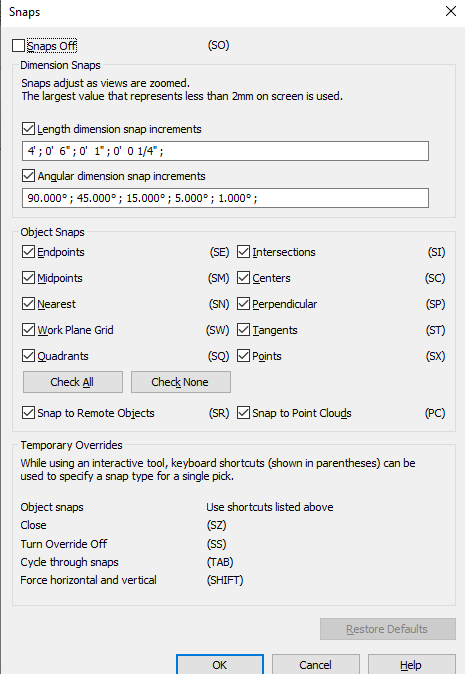
-You can enable or disable snaps as per your needs.
Set project units
Project units are known as Measurements or distance in Meters, Feets, inches, etc. Project units can change by selecting ‘Manage’ from the ‘Ribbon’ or just type ‘UN’ on the keyboard.
Step-1
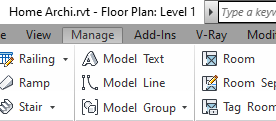
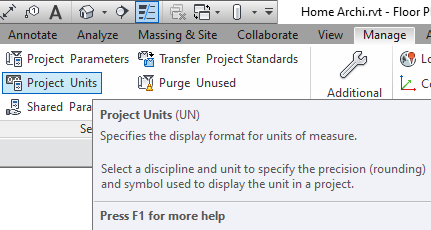
-Click on manage and then click on project units to format.
Step-2
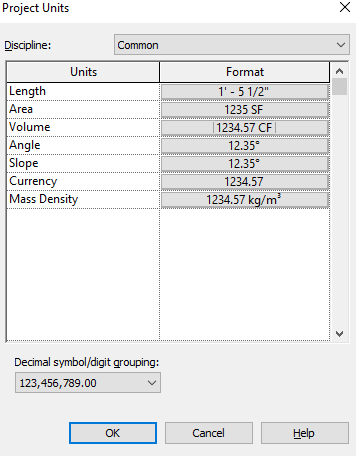
-Click on default measurements and change it as per your choice or requirements.
Step-3
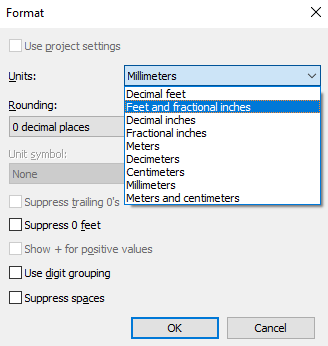
-One dialogue box will appear with project units, you can format units as per requirements.
Set levels or elevation height or Floor height
If you want to design your home for more than a single storey or If you want your home should be at a particular height then you need to set level or height so that you can work easily on your project design. This will help you in identifying the Floor level and slab level.
Step-1
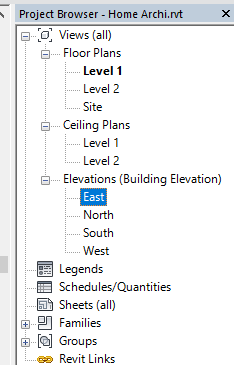
-In the project browser dialogue box you can see ‘view all’ click on that. Now, from Elevations, choose any one direction to set level.
Step-2
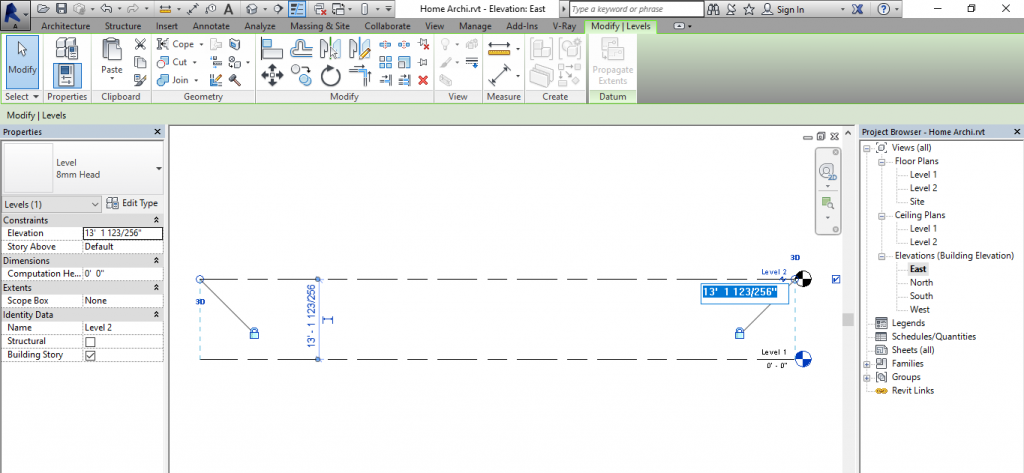
-Default height will appear like this, double click on that so you can change the height of level.
Step-3
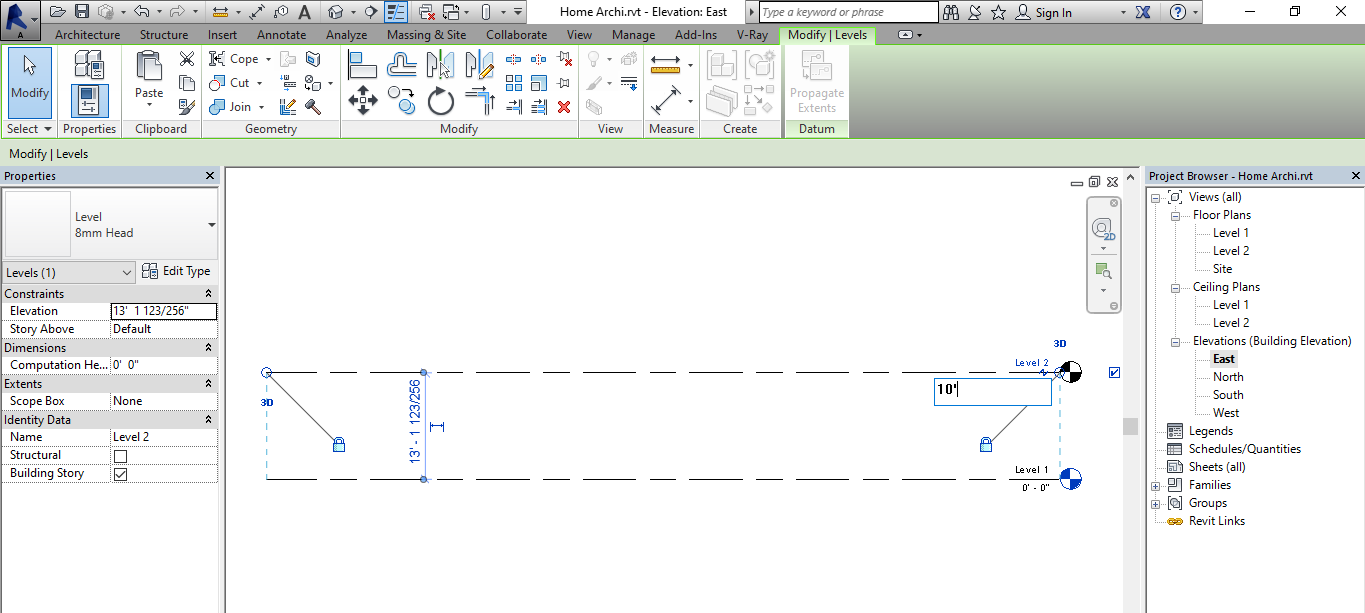
-I prefer distance in feet so that I have changed it to 10′(10 feet). Most probably I prefer 10′ height. you can keep the height of levels as per your requirements.
Step-4
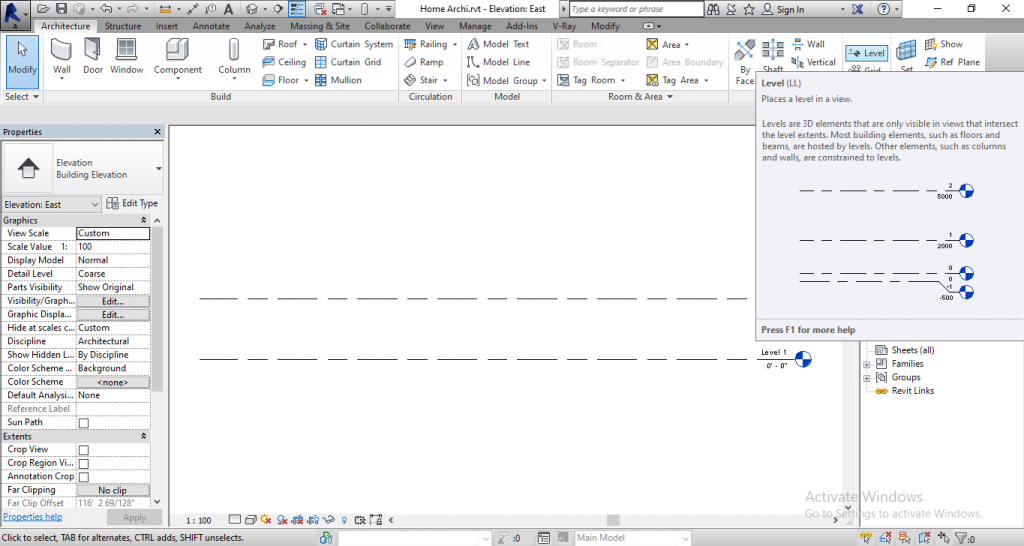
-Click on the ‘Architecture’ tab from Ribbon and you will see ‘level’ on the right side in the datum panel, click on that so you can customize the levels or ‘height of level’.
Step-5

-The above figure shows you that when you move the cursor, height appears with reference to the existing level.
Step-6
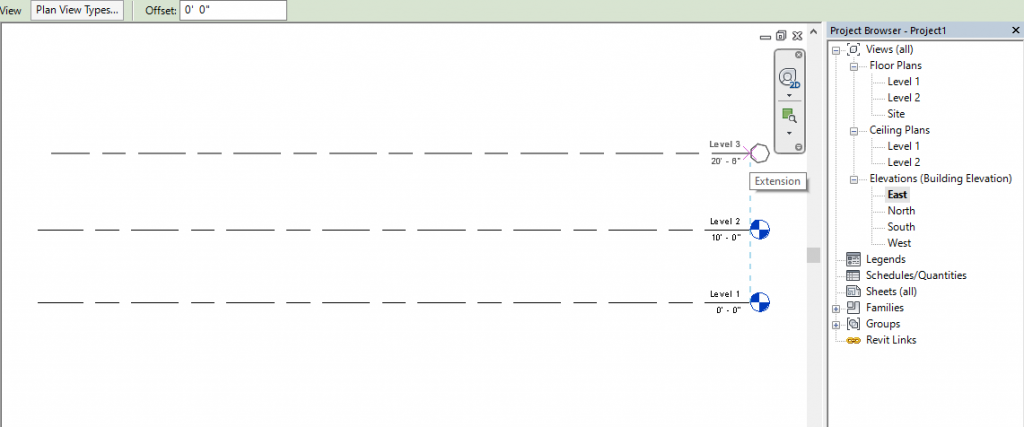
-just click and drag to create a new level. Put cursor and click at one end and Drag towards another end.
Step-7
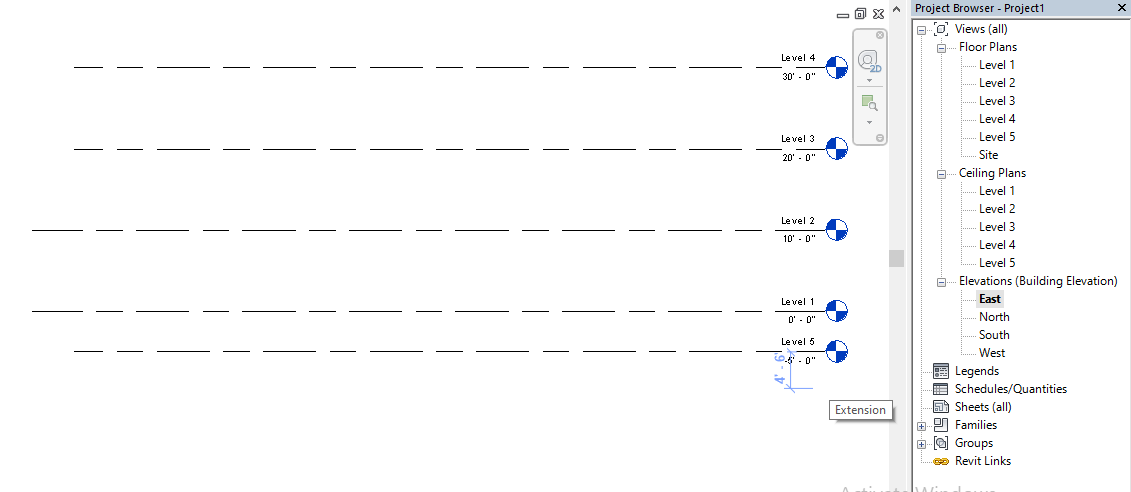
-You can create an N number of levels either above or below by Click and drag.
Step-8
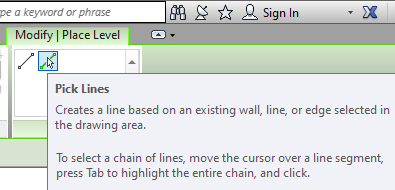
-the symbol denotes pick lines. it creates an offset based on the existing wall, line, level, or edge.
Step-9
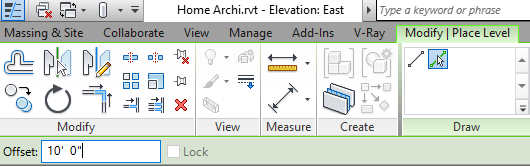
-you have to set Offset distance or height in the panel as shown in fig(bottom left corner) to create offsets.
Step-10
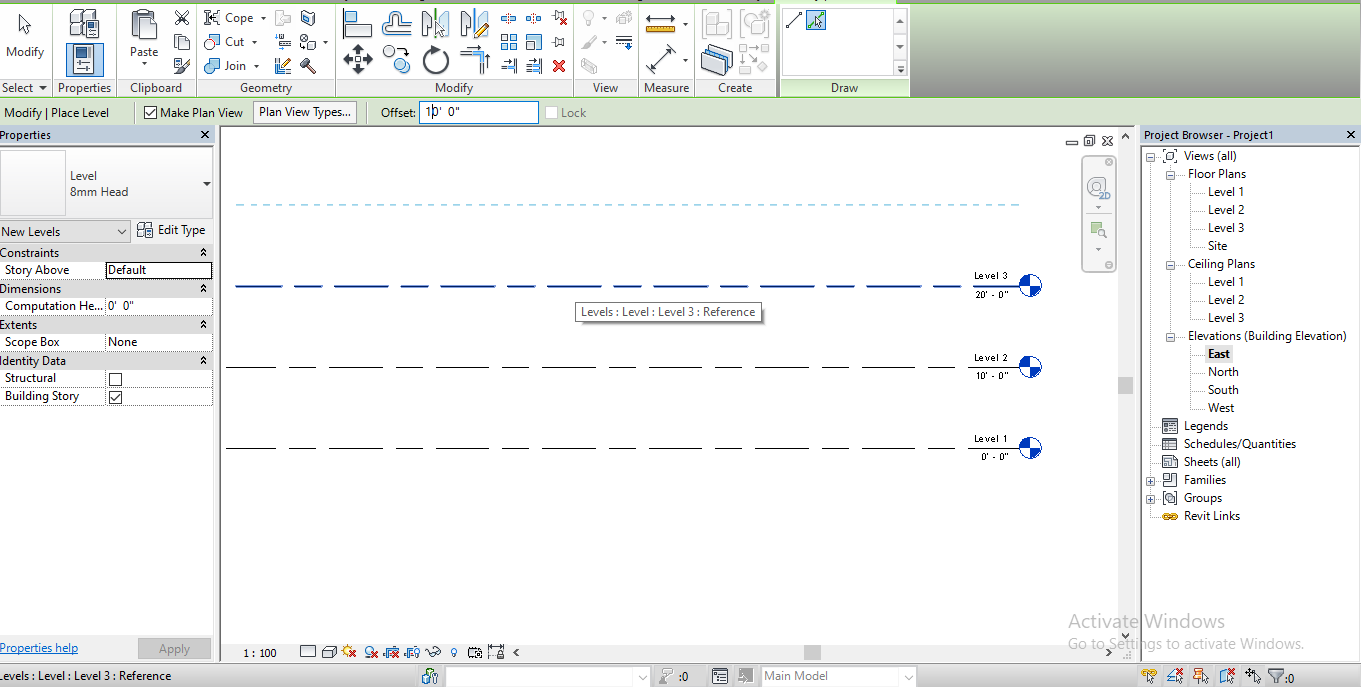
-keep the cursor on the existing line, an offset line will appear in dotted lines above or below the existing line. Click on the existing level/line to create a new level or line. while creating an offset level you must be careful because the new offset line might overlap with the existing line or another offset line.
Step-11
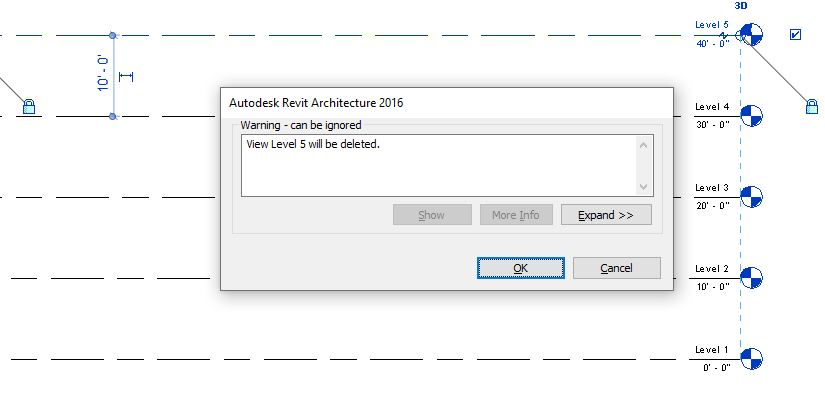
-If you want to delete the extra levels then just click on that level and tap delete on the keyboard.
Step-12
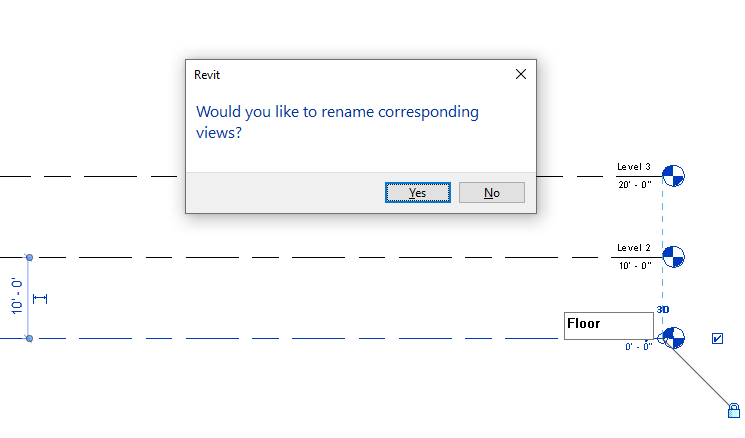
-If you want then you can Rename the levels so that you can identify easily.